Table of Contents
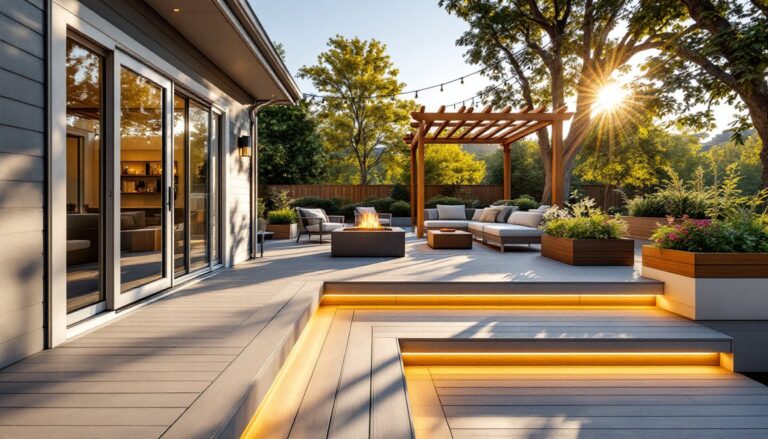
ToggleYour deck’s railing isn’t just a safety requirement, it’s the frame for your outdoor space, and the right design can completely transform how your home looks from the street and how you enjoy time outside. Whether you’re building a new deck or upgrading an aging one, deck rail ideas have evolved far beyond basic wood balusters. Today’s options blend functionality with style, from sleek metal designs to frameless glass systems that don’t interrupt your view. The key is finding a railing that complements your home’s architecture, fits your budget, and meets local building codes. This guide walks you through the most practical and attractive deck rail options for 2026, plus what you need to know before installation.
Key Takeaways
- Deck rail ideas now span modern metal, frameless glass, classic wood, and mixed-material designs—choose based on your home’s architecture, budget, and maintenance tolerance.
- Metal railings (aluminum or steel) require minimal upkeep with no staining or rot, while aluminum is lightweight and cost-effective, and steel delivers a dramatic industrial look.
- Frameless glass railings provide unobstructed views but cost three to five times more than wood and require professional installation starting at $800 to $2,000 per 10 linear feet.
- Wood railings remain popular and DIY-friendly at $400 to $800 for 40 feet, though pressure-treated lumber requires proper spacing as it shrinks; composite materials never rot but aren’t suitable for load-bearing top rails.
- All deck railings must meet code requirements: at least 36 inches tall, balusters spaced no more than 4 inches apart, and the top rail supporting 200 pounds of horizontal pressure.
- Mixed-material combinations (like wood top rails with metal balusters or cables) offer style and durability while costing less than full metal or glass systems, and pre-assembled kits simplify installation for weekend DIY projects.
Contemporary Metal Rail Designs That Elevate Curb Appeal
Metal railings, especially aluminum and steel, have become the go-to choice for homeowners wanting a modern, clean aesthetic. Unlike wood, metal requires minimal maintenance: no staining, no rot, no splintering. Aluminum is lightweight, corrosion-resistant, and typically costs less than steel or wrought iron. Steel offers a more dramatic, industrial look but needs paint or powder coating to prevent rust.
Aluminum balusters (the vertical posts between top and bottom rails) come in solid, basket-weave, or decorative scrolled profiles. A solid baluster is cost-effective and sleek: basket-weave patterns add visual interest without sacrificing clean lines. If you want something grander, wrought iron railings deliver timeless elegance but demand more upkeep and a larger budget.
Most metal rail systems are modular, meaning you buy pre-assembled sections that bolt together, a huge advantage over site-built wood rails. A typical 6-foot section installs in under an hour with basic tools and two people. Metal railings must meet the same code requirements as wood: balusters spaced no more than 4 inches apart (so a 4-inch sphere can’t pass through) and the rail must support 200 pounds of pressure at the top.
One caveat: metal can get hot in direct sun and cold in winter, so touch it before assuming it’s safe or comfortable, especially with young kids or pets.
Glass Panel Systems For Unobstructed Views
Frameless glass railings are the premium choice for decks with views, water, mountains, woods, because they protect without blocking sightlines. Tempered glass (heat-treated to resist impact and break into small, relatively safe fragments if it fails) is the only option that meets building codes. Expect to pay three to five times more than a wood railing, but the view payoff is enormous.
Two main systems exist: frameless (glass panels anchored to the deck with minimal metal hardware) and framed (glass within an aluminum or steel frame). Frameless is cleaner visually but requires precise installation and professional help, this isn’t a DIY-friendly project. Framed systems are slightly more forgiving and can sometimes be owner-installed if you’re confident with drilling, measuring, and hardware.
Glass thickness matters. Standard tempered glass for railings is typically 3/8-inch or 1/2-inch thick. Thicker glass feels more solid and resists flexing under pressure. A typical frameless glass panel (36 to 42 inches tall) weighs 40 to 80 pounds depending on thickness, so two people and proper lifting technique are essential.
Maintenance is straightforward: water and a squeegee keep glass clean. Mineral deposits from hard water can be stubborn: a vinegar solution or glass cleaner handles that. The hardware holding the glass (stainless steel posts and clamps) requires minimal care. Factor in professional installation costs, usually $800 to $2,000 per 10 linear feet, depending on your region.
Classic Wood Railing Options With Modern Twists
Wood railings remain popular because they’re warm, versatile, and can be owner-built if you’re comfortable with basic carpentry. Pressure-treated lumber is the standard choice for the structural components (the top and bottom rails), while balusters can be painted, stained, or left natural.
Traditional vertical balusters are the most common: they’re simple, affordable, and easy to cut and install. But modern twists include horizontal railings (which feel more contemporary and sometimes allow wider baluster spacing if they’re wire-filled or have metal inserts), deck board styles (where balusters are made from matching deck boards for seamless integration), and mixed wood tones.
Material selection is critical. Pressure-treated lumber resists rot but can shrink and twist as it seasons: space balusters slightly wider than 4 inches if using PT lumber because they’ll shrink. Cedar, composite materials, or treated hardwoods like Cumaru shrink less and look better long-term, but cost significantly more. Composites (plastic-wood blends) never rot or splinter, match deck board colors easily, and don’t need stain or paint, though they can dent and aren’t suitable for top rails that bear load.
Building a wood railing from scratch means building a frame (the posts and top/bottom rails are the skeleton), cutting and installing balusters, and finishing. Instructables offers detailed woodworking project guides that cover railing builds step-by-step. Expect 20 to 30 hours of labor for a 40-foot deck if you’re new to this: experienced builders move faster. Local building codes specify post spacing (usually 6 feet maximum) and require structural calculations if the railing will carry unusual loads.
Mixed-Material Combinations For Style And Durability
Blending materials, say, metal balusters with wood top and bottom rails, or glass panels within a steel frame, lets you customize aesthetics while solving durability trade-offs. A metal frame with horizontal cable infill is a popular modern combo: the frame is maintenance-free, and the stainless steel cables are strong, code-compliant, and nearly invisible.
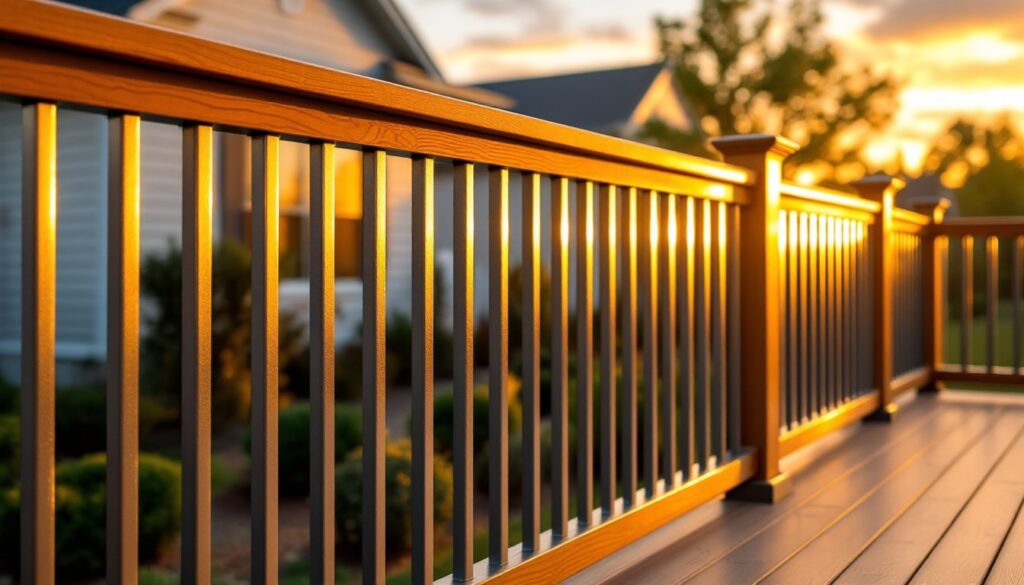
Another winning combo is a wood top rail (warm, comfortable to grip, traditional feel) paired with metal balusters or cables (minimal maintenance, sleek appearance). This setup feels more upscale than all-wood but costs less than full metal or glass systems. Paint the wood top rail to match your house trim, and the railing feels integrated rather than tacked-on.
Stone or masonry columns combined with metal or wood railings also work beautifully, especially for homes with stone or brick exteriors. The columns become visual anchors: the infill material can be anything that meets code.
Sunset’s guide to backyard deck design showcases mixed-material examples that illustrate how this layering approach elevates curb appeal. The key to pulling off mixed materials is restraint: pick two or three materials max, and ensure they’re proportioned well (don’t let one material dominate unless it’s an intentional statement).
Budget-Friendly And DIY-Friendly Rail Solutions
If your budget is tight or you want a learning project, start with pressure-treated wood balusters on a treated lumber frame. This is the least expensive railing option and is forgiving for a first-time builder. A 40-foot section of basic wood railings runs $400 to $800 in materials (pressure-treated lumber is inexpensive), compared to $2,000+ for metal or $4,000+ for glass.
Aluminium balusters are more expensive upfront than wood but factoring in no stain or paint maintenance, they’re cheaper over 15 years. If you can’t afford a full aluminum railing, consider a hybrid: paint a wood frame and swap plastic balusters for wood ones: this looks respectable, is easy to build, and costs under $600 for 40 feet.
Pre-assembled railing sections from big-box stores (Home Depot, Lowe’s) or online retailers simplify the job. You buy 6-foot sections, bolt them together, and secure them to posts. Assembly is a weekend job for a handy homeowner. These kits are typically metal or composite and range from $150 to $400 per 6-foot section installed (labor included if you DIY).
Fix This Build That offers workshop guides and tool reviews that help you pick the right tools and materials for a railing build. Invest in accurate measuring: a 50-foot tape measure and a level are non-negotiable. A power drill, circular saw, and miter saw (if you’re cutting custom balusters) are the core tools: you can rent a miter saw for a weekend for $20 to $40 if you don’t own one.
Installation Tips And Code Compliance Essentials
Before you buy a single board or baluster, check your local building code. Requirements vary by jurisdiction, but the International Residential Code (IRC) sets the baseline: railings on decks must be at least 36 inches tall (measured from the deck surface to the top of the railing), and balusters must be spaced so a 4-inch sphere can’t pass between them. The top rail must support 200 pounds of force applied horizontally and downward. Posts usually can’t be spaced more than 6 feet apart, and they must be anchored to the deck structure or buried in concrete.
Many jurisdictions require a permit and inspection before and after installation, especially if you’re building a new deck or making structural changes. Check with your local building department before starting: a $150 permit and two inspections save you from costly code violations or, worse, a safety hazard.
Measure twice, cut once. Deck railings look off if they’re not square and level: use a quality level and a tape measure that snaps back smoothly. Prepping the deck surface, cleaning dirt, checking for rot in the rim joist or band board where the railing attaches, prevents problems later.
For any installation, wear safety glasses and work gloves. If you’re using power tools, ear protection is smart: most miter saws and circular saws produce 100+ decibels. If cutting composite materials, wear a dust mask: the particles can irritate airways.
If your railing needs to support a load (like a snow load in a cold climate) or your deck is unusually large, a structural engineer’s stamp may be required. Don’t skip this step: it’s a one-time cost of $200 to $500 that ensures your railing is truly safe.
Conclusion
Your deck railing choice shapes both safety and curb appeal. Whether you go modern metal, premium glass, classic wood, or a mixed blend, prioritize code compliance and honest material selection. Budget, maintenance tolerance, and DIY skill all factor in, there’s no single “best” option, only what works for your home, your climate, and your hands-on comfort level. Start with a solid plan, pull permits if required, and measure carefully. Your deck will look sharper and be safer for years to come.